Renee Shapiro
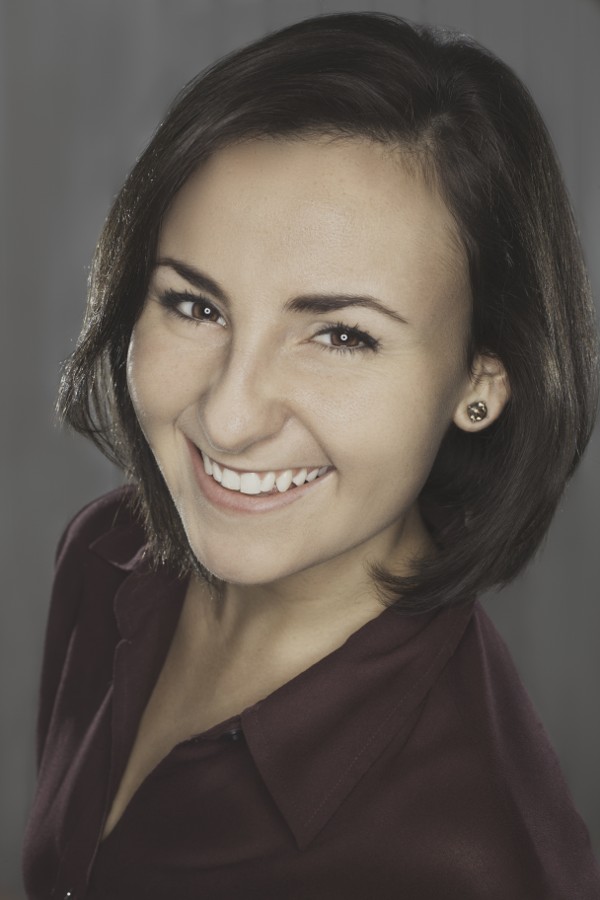
Here's a Headshot that I took of KATV (ABC) Channel 7's Renee Shapiro.
Creative Content Producer//Marketing Specialist
Director/Cinematographer/Editor/Colorist
Here's a Headshot that I took of KATV (ABC) Channel 7's Renee Shapiro.
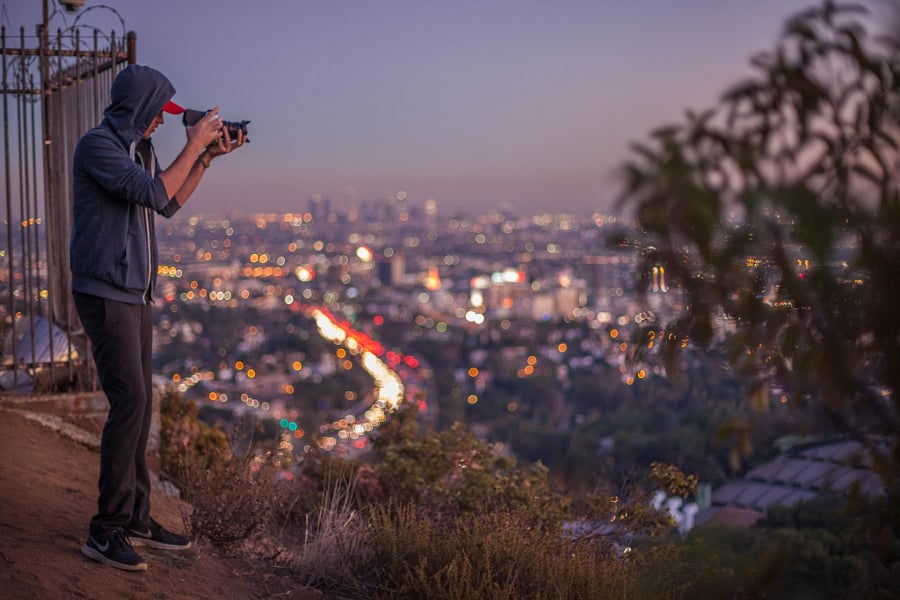
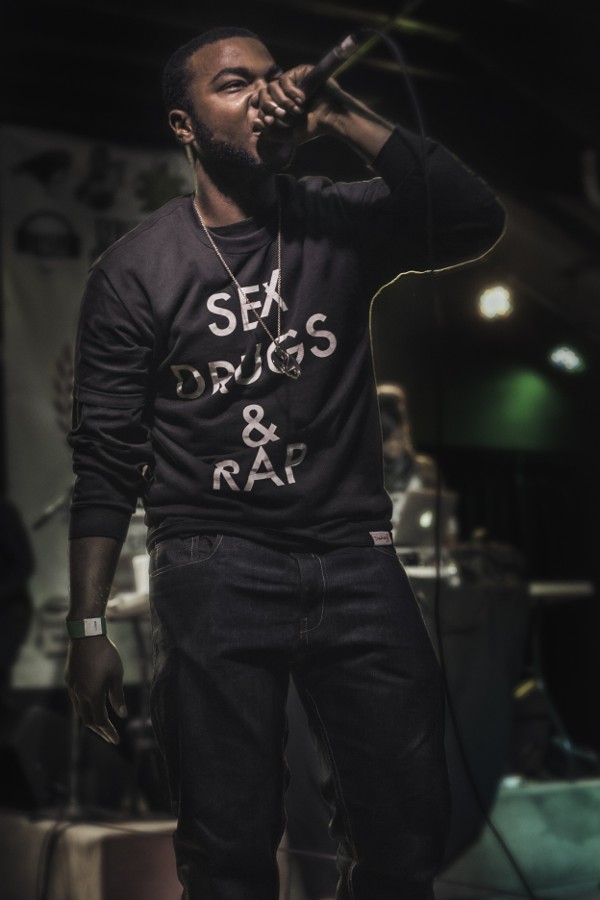
Here's a picture of my brother from a different mother, performing at Juanita's Cantina in Little Rock, Arkansas. This was just candid, taken during his set.
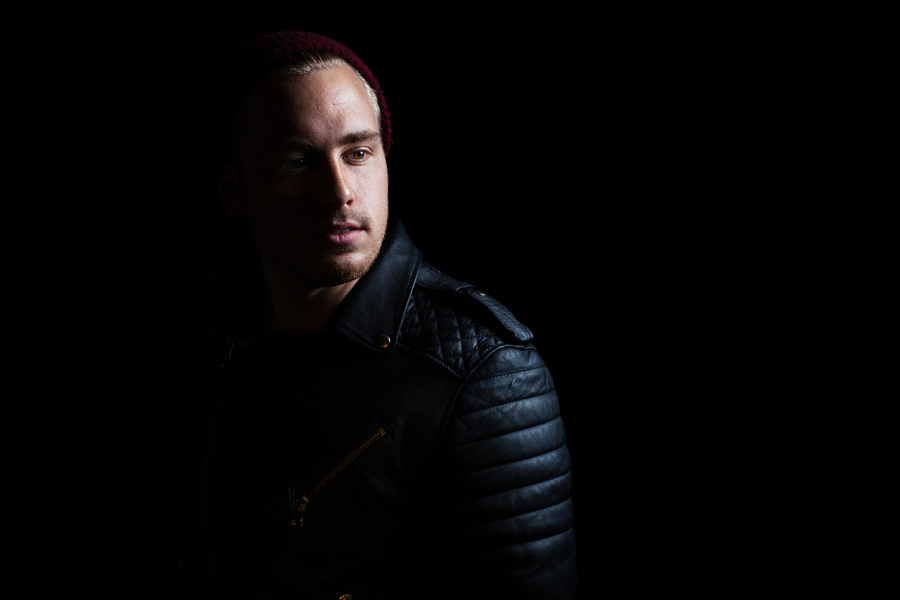
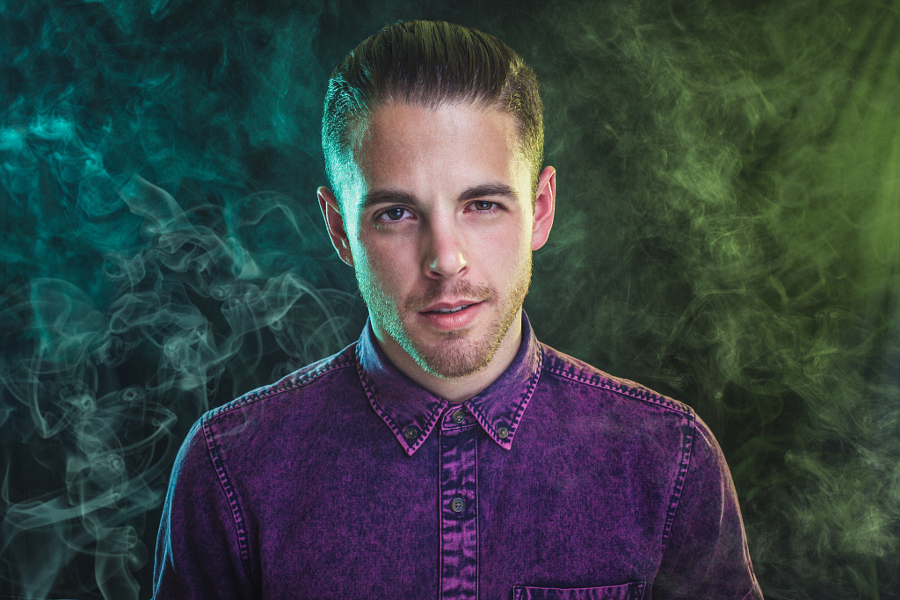
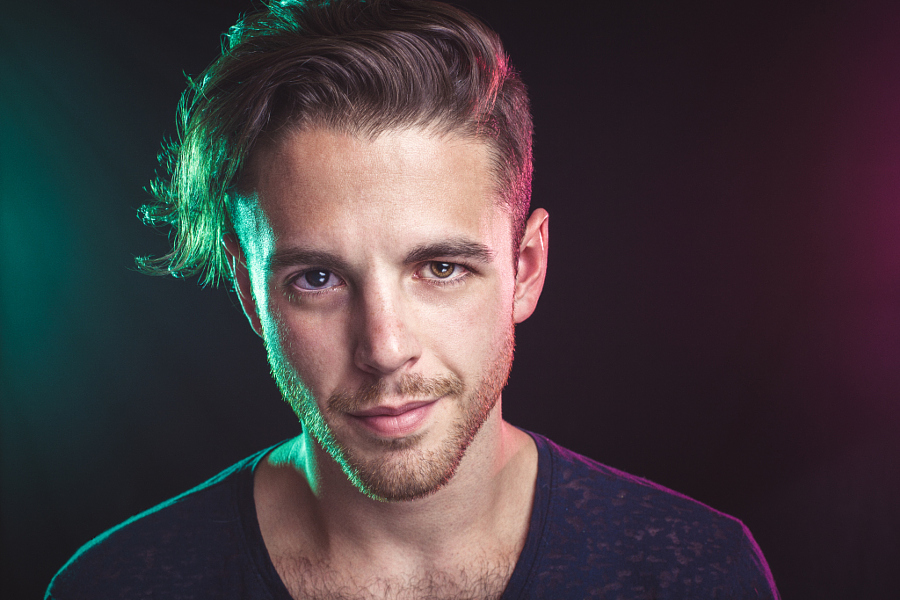
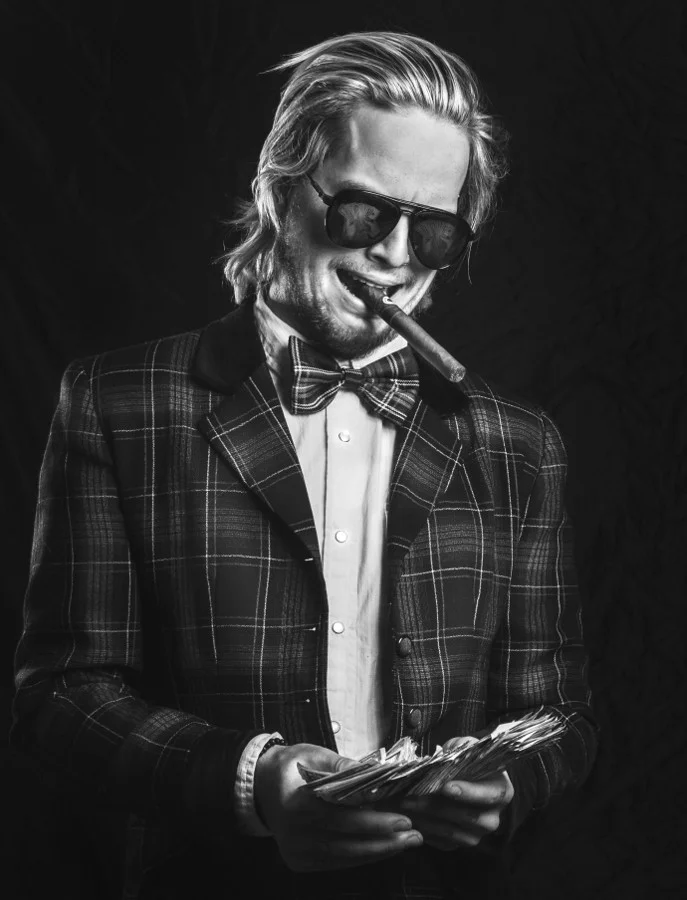
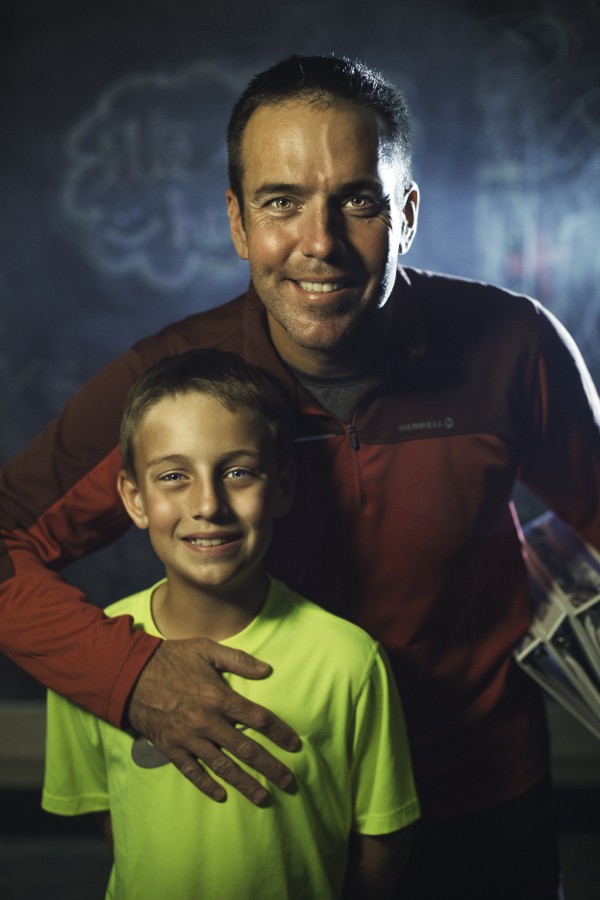
Today I had the pleasure of Photographing Caleb Schultz for an acting agency. Caleb is really easy to work and fun. It was a very quick 15 minute session. I had to take the photos and make the edits in under two hours so he could get them printed and delivered the same day. I think we got some good shots though! I work well under pressure so it really ended up being a breeze. For the edit I just concentrated on some light frequency separation techniques and bringing out the natural qualities of his eyes. I used two 7 foot Westcott shoot through umbrellas and a 430 EXii for the rim light.
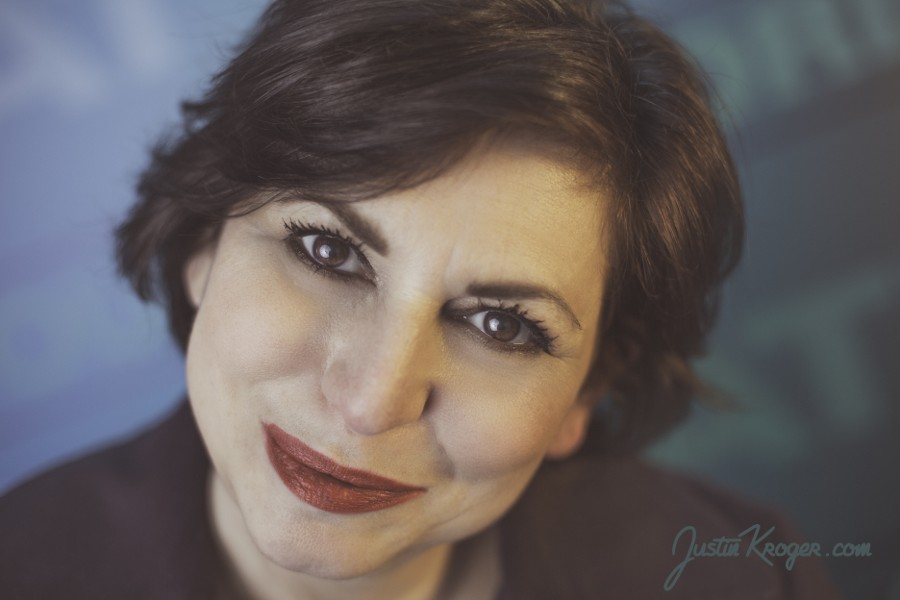
Here's another headshot of a news reporter! Katherina Yancy from ABC KATV Ch. 7
Here's a new retouch of an old photo from a few years ago
Matt Millard
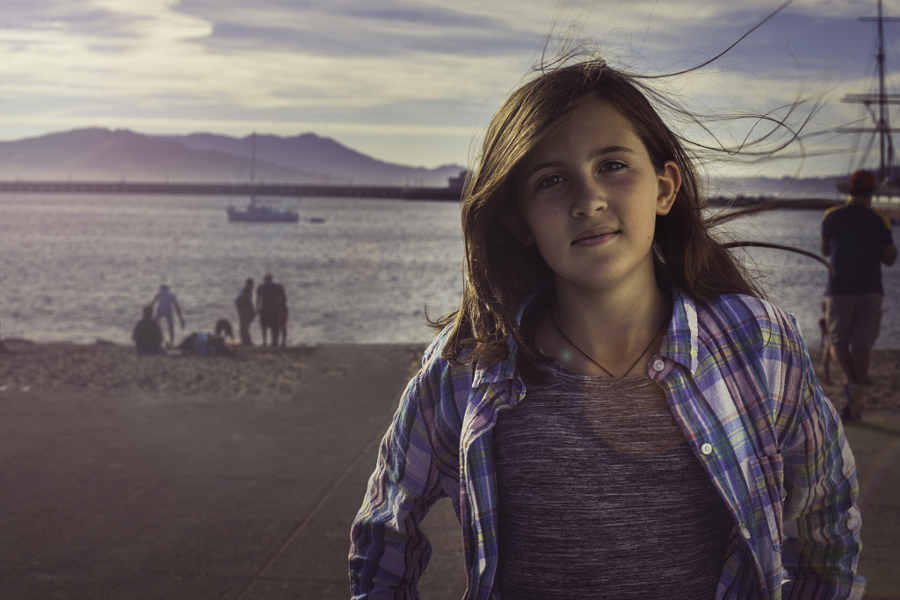
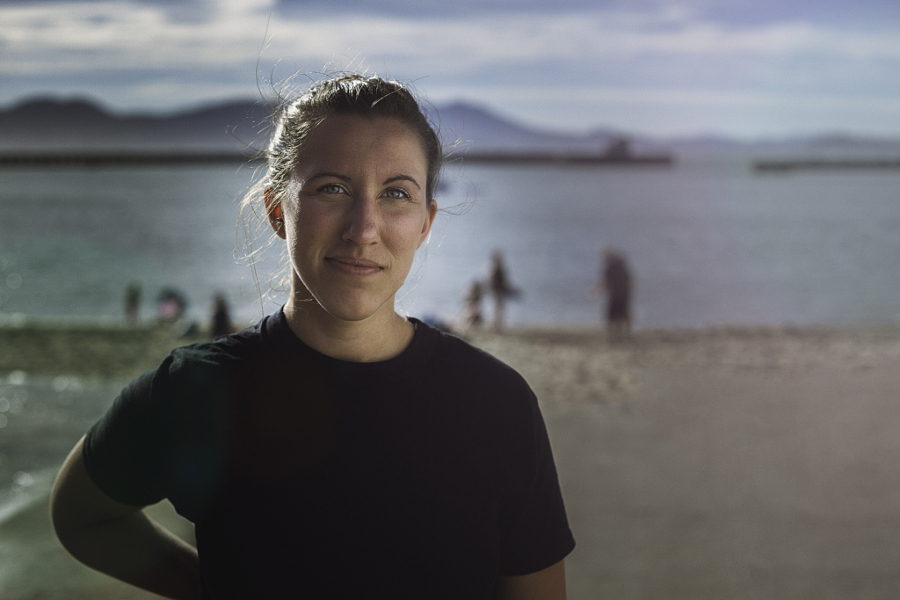
I think this all started from me not being satisfied... I'm too A.D.D. I can't JUST take pictures or JUST shoot videos... I have to do it all! I love special effects and devote hours every day to practicing, watching tutorials and coming up with different methods and ways of creating digital effects... SO, recently I have been experimenting and thinking about different creative ways to turn my photos into interesting videos using Adobe PhotoShop, After Effects and Premiere. What I came up with is a little more in depth different twist on the whole 2d to 3d concept. I start off with a concept, shoot the image, retouch it until it is perfect in my eyes then I separate the subjects into different layers and create a displacement map based off of painted luminosity in photoshop. I then import everything into After Effects as a PSD sequence and arrange the layer according to their respective depth in 3d space. I use the camera tool and keyframe motion, depth of field and other natural elements of motion to gain a realistic parallax motion effect, I then use the puppet to to add subtle movements such as facial expressions, trees blowing in the wind, people walking etc... Then I use the displacement map that I created in photoshop to give an even deeper 3d feel across the entire image. Finally I add light, flares, color correction and video grain. Honestly the whole process is extremely time consuming... From start to finish it could take days. Separating the layers and creating the motion and details in After Effects usually take a few hours in itself, so add in actually shooting the images and retouching... I don't even want to think about how much time has gone into making these.
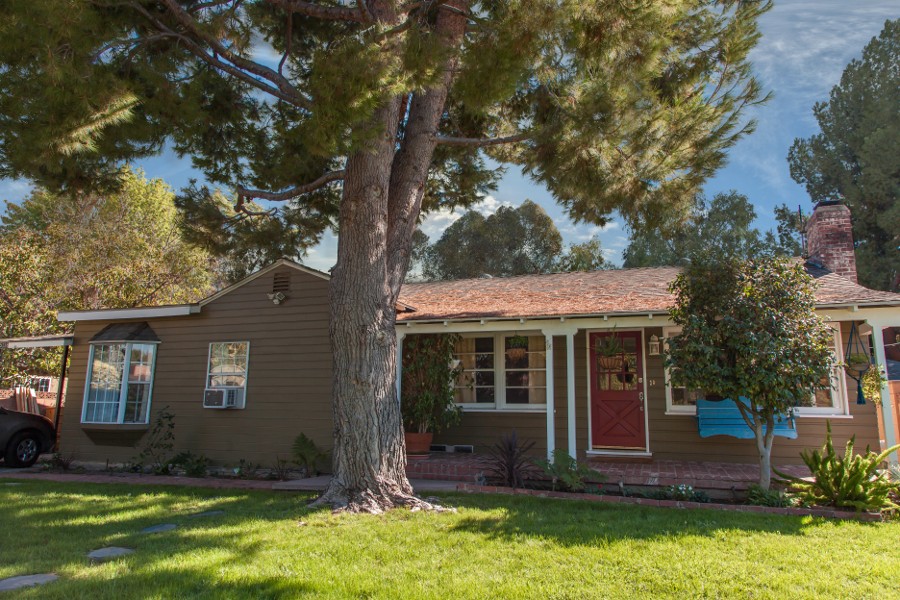
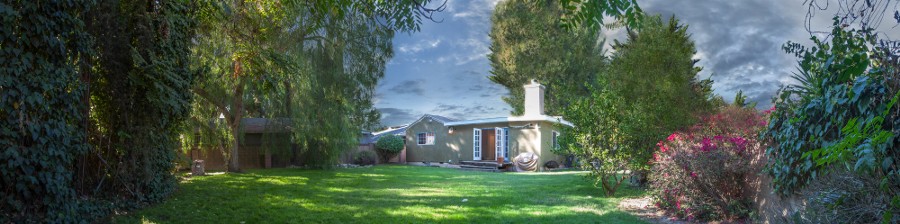
Architectural/Interior design photo shoot. I was exceptionally pleased with my client's work at remodeling this house! We put some hard work into this shoot and I'm very please with some of the edits that I've composed from our time spent shooting, These are really more rough edits and will most likely change over the course of the next week. I like to make the initial edit and then look at it after my eyes have reset then make tweaks. Most of the time I notice that my images always lean on the more phantasy side of realism. That really isn't a good or a bad thing, in every case the clint has to be the first priority so sometimes that means pulling back a little bit on the images... Here are a few initial edits...
I know, it seems like this is all I have been shooting for the past few months, but I have no complaints! love shooting interior design/architecture/real estate! Although I do really want to get back on to more portraiture jobs again... Hey, whatever the clients want, I am happy to do!
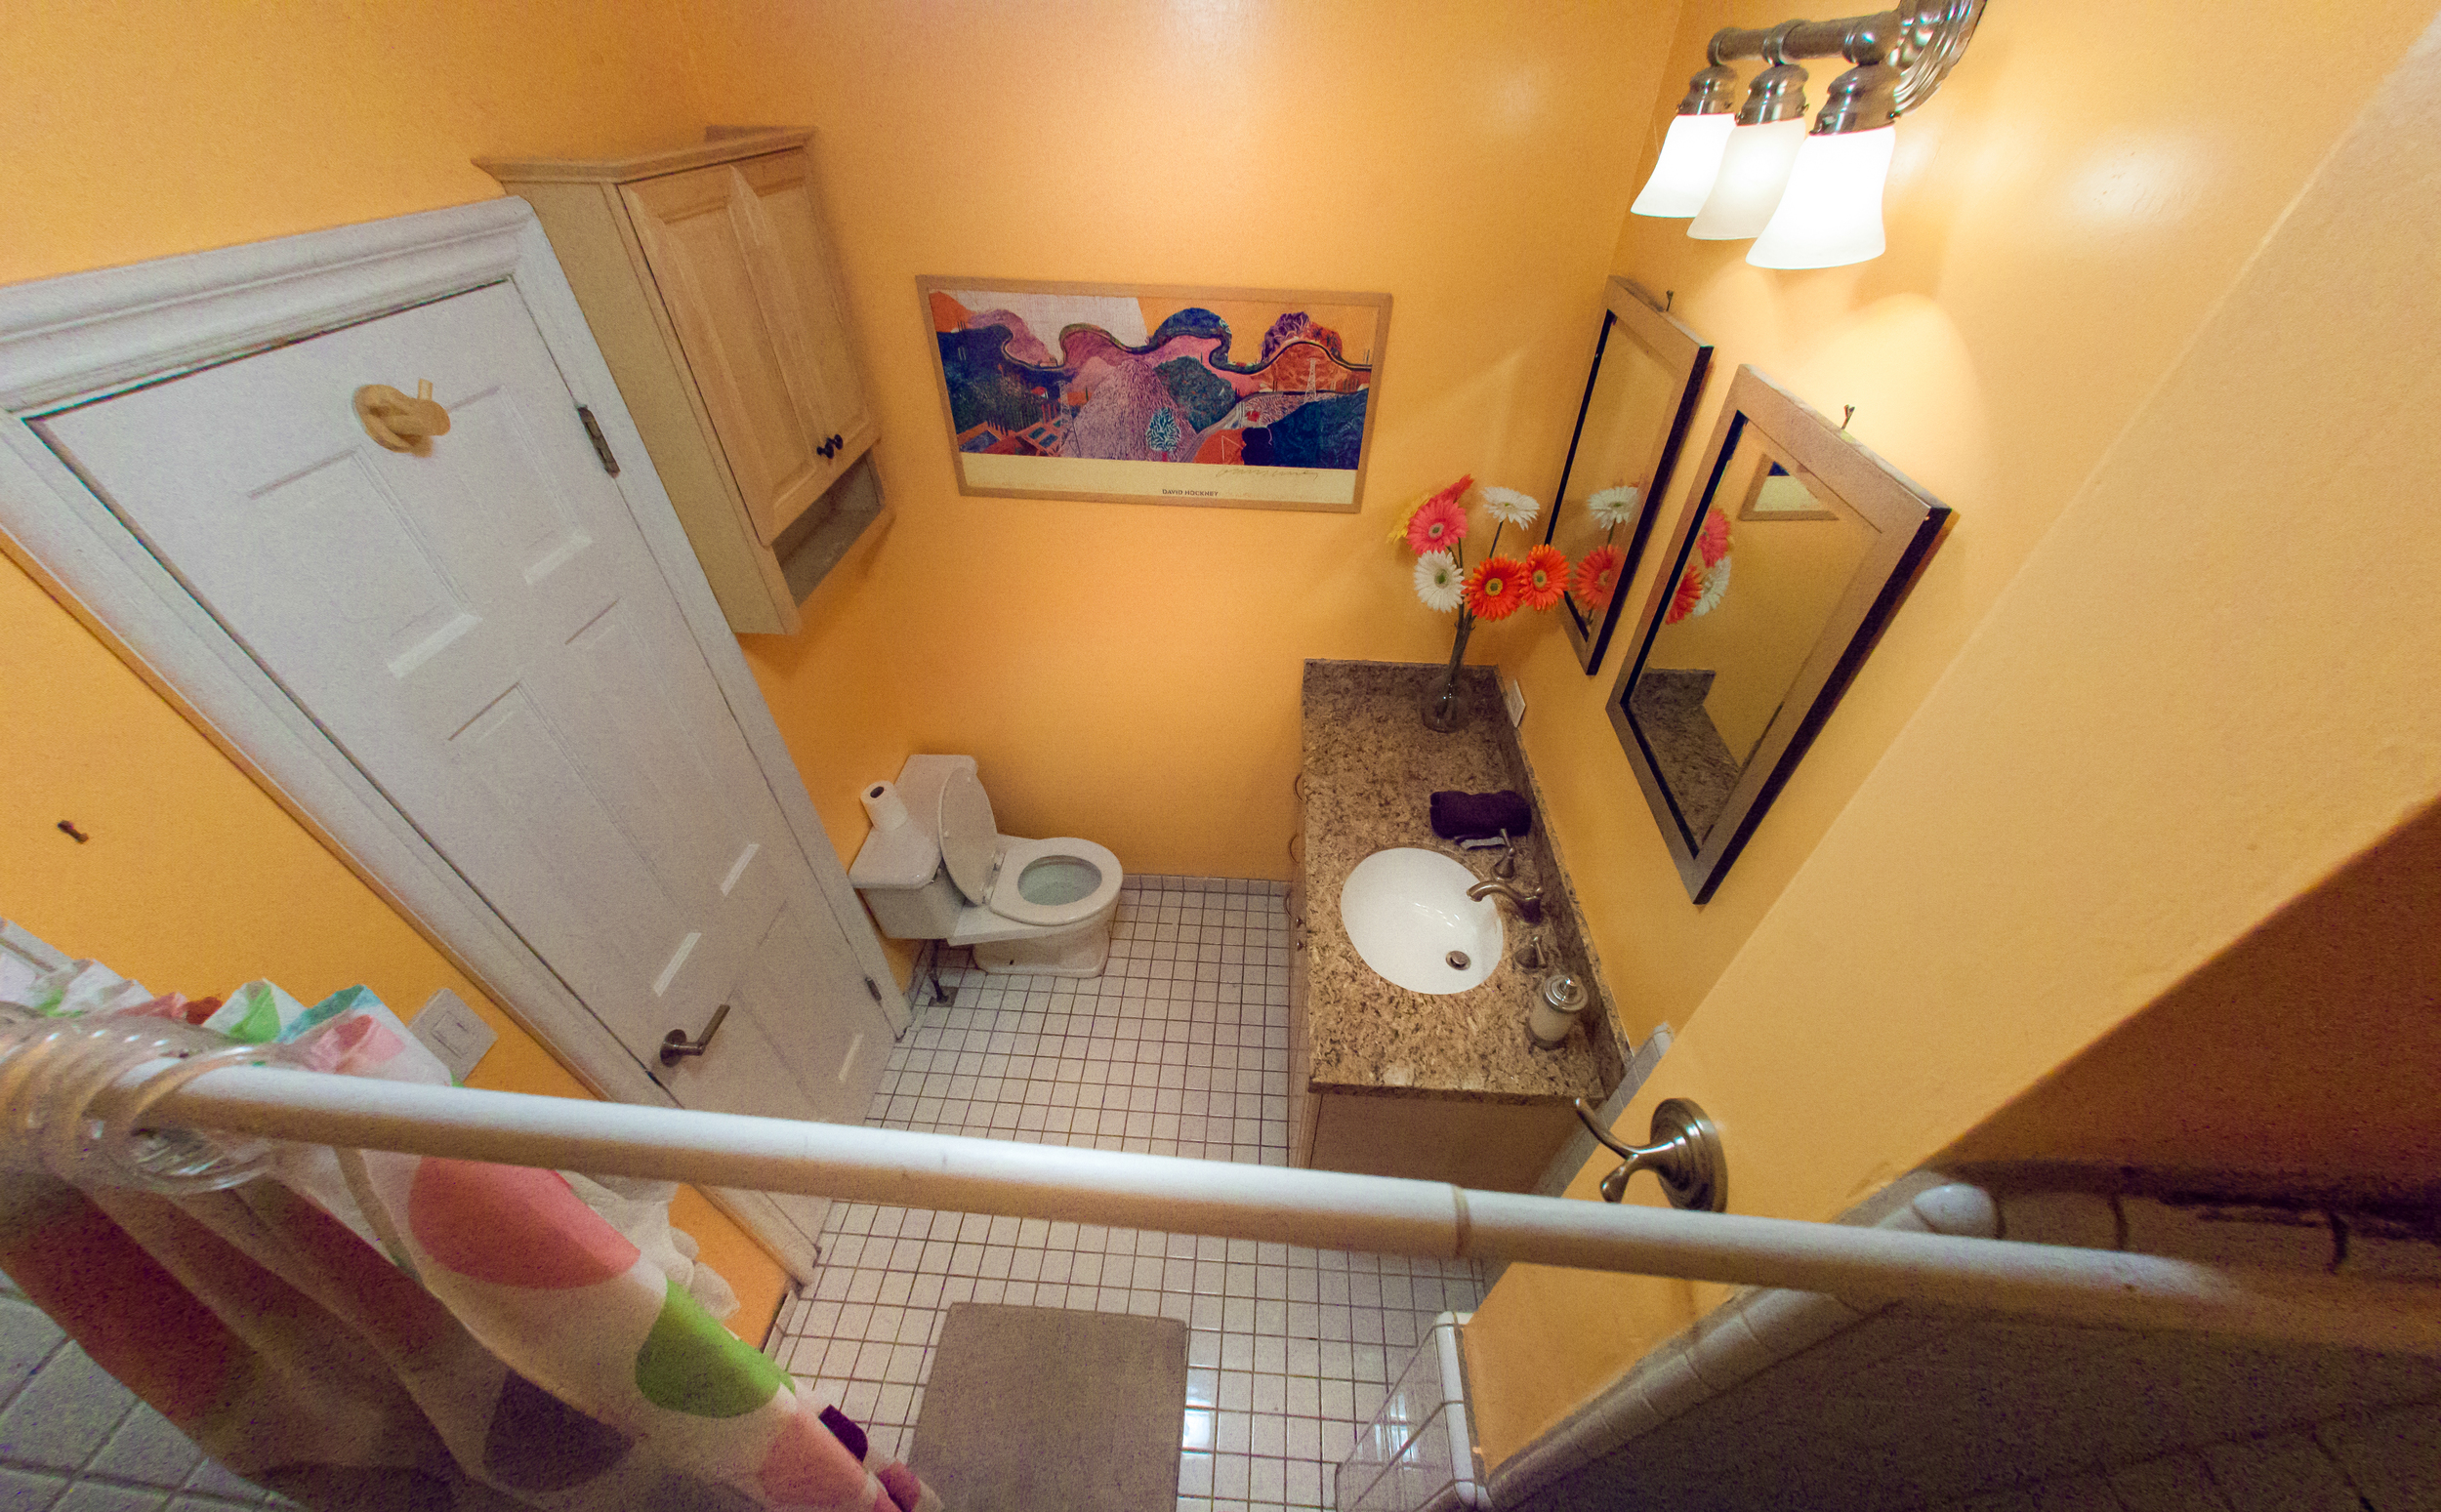
Unfortunately all of these images had to be shot and finished in 1 day so I didn't have time to light paint them and edit them heavily in post, but that's cool; it just makes it more of a fun challenge to get a great photo in camera, without heavily relying on post processing applications. Don't get me wrong, I still used Photoshop and Lightroom, but nothing like what I would have done if I had more than a day and time to light everything individually; either way is still a lot of fun!
I'm seeing my 15mm f2.8 come in really handy in these time sensitive shoots! A lot of the bathrooms that I shoot are very small and almost impossible to capture with a 24mm (standard real estate focal length) without stitching together a panorama in post. So it's been really cool to be able to set up the image right and get the whole room in 1 shot, then all I have to do is apply warp corrections and edit the image. Its far less time consuming than trying to edit a 10 gig stitched image and correct all the little masking errors that the computer makes...
Most of these images were taken with a EF 24-105mm f4 IS USM, EF 15mm Fisheye, EF 50mm 1.4 and a few speed lights, and a few Alien Bees B800 studio strobes... I like to shoot bare bulb raised up very high and pointed to the ceiling, it makes kind of a giant soft box/reflector, and gives for a very even and forgiving light source (as long as the ceilings are white). I always blend exposures with flash lit and natural light, bracketing my exposure through around 8 stops- depending on the time of day of course. Oh and no sky replacement on these! The sunset was beautiful in Los Angeles!
Thanks for looking!
Keep shooting!
Justin
Recently I have been compulsively learning and progressing in the area of photo retouching. Lately I've been extremely dissatisfied with the mundane repetition that is Adobe Light Room. I found myself in a rut of taking photos, applying very similar styles to all of my photos and then releasing them to clients or to the web. Where is the challenge? There is very little artistic satisfaction in knowing that anyone else with a decent eye for composition could push a few sliders and recreate almost pixel for pixel the exact "retouch" of any one of my images. This is what started my journey to become more individual in every way with my final exports. I've been spending at the very least 45 minutes to an hour on all my current photos... going through hours of tutorials and thousands of adjustment layers. With every image I export and every new technique I set to memory I can feel my artistic satisfaction filling again. Here are a few of my recent works in progress...
I had another job yesterday for a real estate client. This was a pretty little apartment in Beverly Hills. Once again, this was a very quick day-turn job, and so I have to modify my workflow slightly to be able to deliver on time. One thing that has really helped is the addition of a 15mm fisheye lens, which I use for very small rooms or bathrooms; it is especially handy in small apartments like this. The 15mm focal length makes the room look a bit larger and fairly natural once the distortion correction is applied. I've had to kind of find out the best angles to use with the 15mm, and keep in mind that I'm going to lose the corners and crop in a bit to reduce circular distortion. I also really like using a technique where I place my camera in vertical position on my tripod, with a 24mm lens mounted, and stitch together a panorama image by moving about 15-20% between each shot... It gives kind of a cool effect if you place it next to the door frame and continue shooting into the next room, then I just make sure the door frame is in the middle of my image and blur it a little bit... It's a great way to see a vast area in the house!
This week I had the pleasure of taking some photos for a Real Estate company. These are Day Turn images so I didn't have the time to light paint every scene with individual flashes, instead I used a combination of bracketed exposures and studio strobes to get the best dynamic range in each photo, then I combined them in photoshop. My client wanted to make sure the images made the property look very spacious so I used a 24mm lens and stitched together multiple exposures to create wide panoramic images. I also had to photograph a tiny bathroom so I got to use my new 15mm fisheye, of course I corrected the distortion in post, but it really gives the illusion of space, making rooms look bigger.
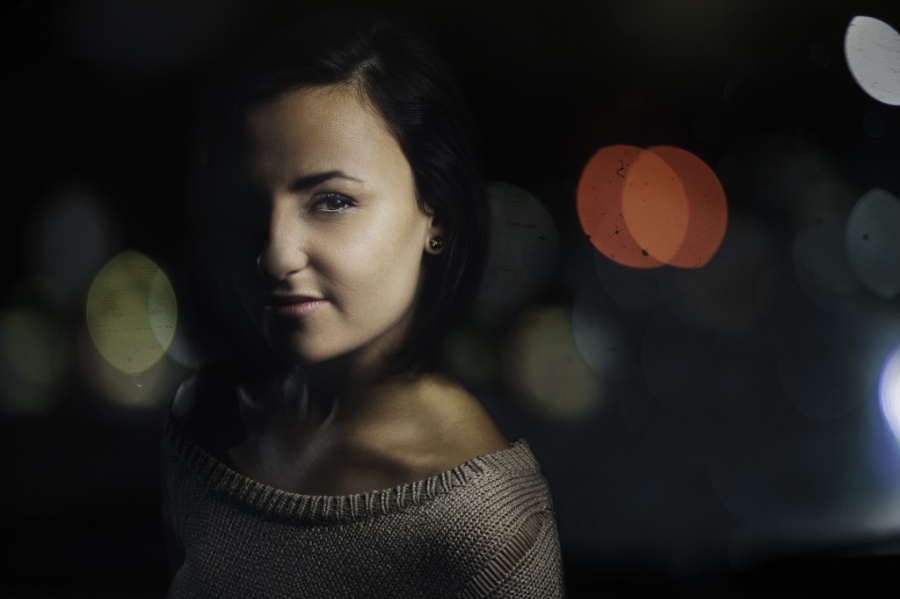
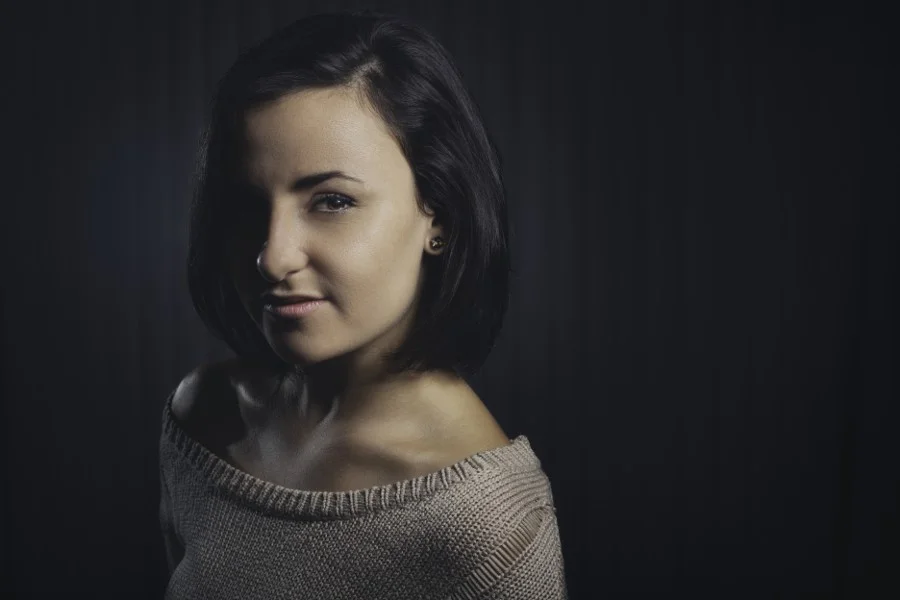
Here is a shot that I did of Natalia with her MAKE UP REMOVED.
I applied makeup in post to study how girls use cosmetics to cover up blemishes in a realistic fashion. Thanks to Natalia for giving me tips on how to apply make up IRL and how it would naturally look. I didn't want to go too fake with this image even though I do tend to like to stay towards a more Cinematic style. Natalia kept telling me to go further and further in the editing process because she said when she applies her makeup, you can't see a single blemish on her face. Well I still wanted it to be somewhat realistic so I went with Frequency Separation and didn't blur the skin. I did however use a light blend of skin tones applied over the texture layer, (High Frequency Layer) it was painted with a 10% opacity setting and the final airbrush was turned down to 20% to retain as much detail as possible while cutting some of the very minor hi lights on the skin. I shot with a 24-105 and an Alien Bees B800 Ring light with the diffusion panel and reflector. the two hair lights were bare 430EXii zoomed in to 105mm.
This was supposed to just be a test shot with my new ABR800 because Natalia was in her PJ's with no makeup on... lol. But I just got to playing in Photoshop and got hooked on this study.
***I got rid of the RingLight catch lights in her eyes because I just find them to be too over used and cliche. I think they make people look rather alien (which is great if you're going for that kind of thing)... So I actually took a picture of the moon and used it as a catch light with some warp techniques. I know that when light enters the eye, it reflects and bounces off the opposing side so I created a subtle glossy catch on the opposite side of the catch light and blah blah blah... You get the picture.
Thanks for stopping by and looking.
www.JustinKroger.com
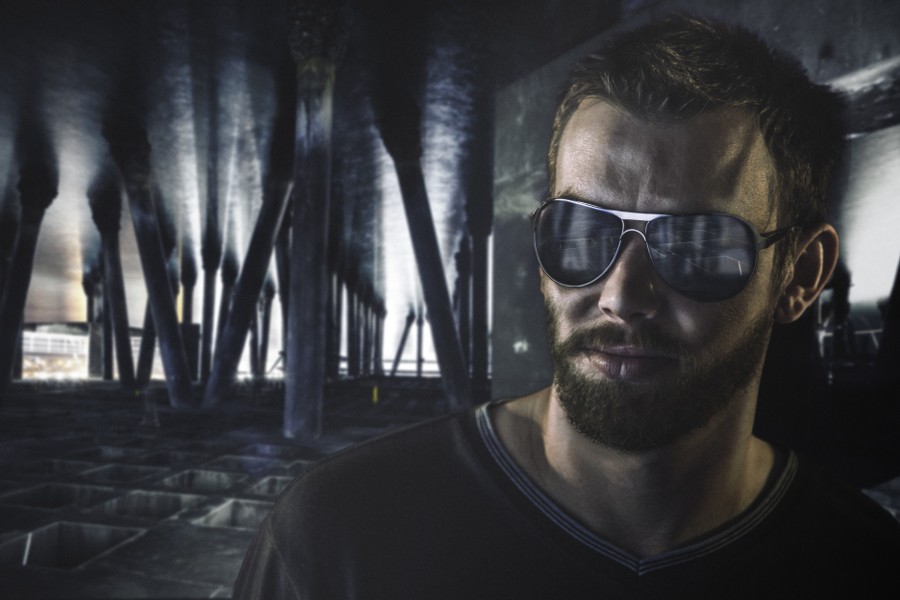
aaaand the split screen.
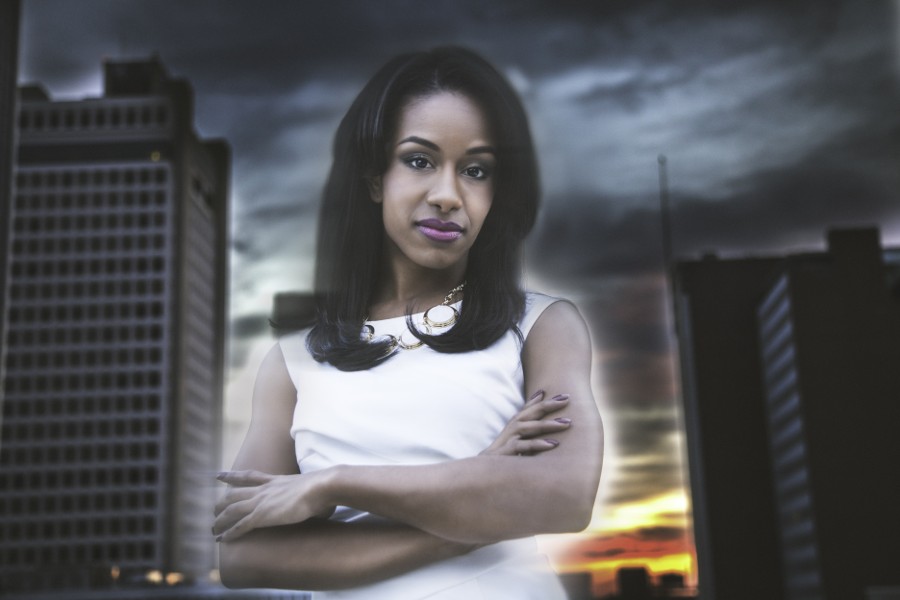
This is a comp image that I did of Matt Millard. The image of matt was taken in Arkansas. The background slate was taken from down the street from my house at a car shop on Laurel Canyon BLVD in Los Angeles.
Taken in San Diego CA while I was working for Xbox at Comic Con 2014
Took some pictures at Jay Z's house last night...
More like mega DEATH
I've been busy working so I haven't updated my website in a few days. Shame on me! Go check out my new 500 Pix account and lets be friends on there! I added a preview of my Account at the end of this post.
So this week I had a shoot with Smile Pediatrics, which is an occupational therapy clinic. I had a really good time hanging out and photographing all the little kids, as well as the staff! Here are a few of the fun images that I've been working on...
What clubs do you go to? Don't lie! You don't go to the clubs! The only club you go to is Sam's Club! Just kidding... Here is a video I made for Exchange LA and Midnight Music Machine to promote a weekly show in the B room at the club. I shot this on a 5d mark ii in extremely low light with only a little LED hot shoe light. So naturally, my ISO was cranked way up to around 6,400 while using the 24-105 f4. I could bring it down a little bit for the shots from the 50mm 1.4 but still it gets a little noisy. So I threw every clip into after effects and de-noised everything individually using Neat Video. I then created custom grain using photoshop techniques actually... and sharpened the video then reconnected the footage to Premiere. After I de-noised all the footage, it really started to look super clean! I can't believe the quality of video I can capture in such minimally lit areas! Take a look at the main video and then you can check out the side by side De-noised and raw video!
Here are a few Lower Third graphics that I custom made for a client today. It's actually really fun to take specifications from people and work to create exactly what they want. In this instance I was lucky enough to hit the nail on the head on the first versions and it only took a few hours from concept to completion.
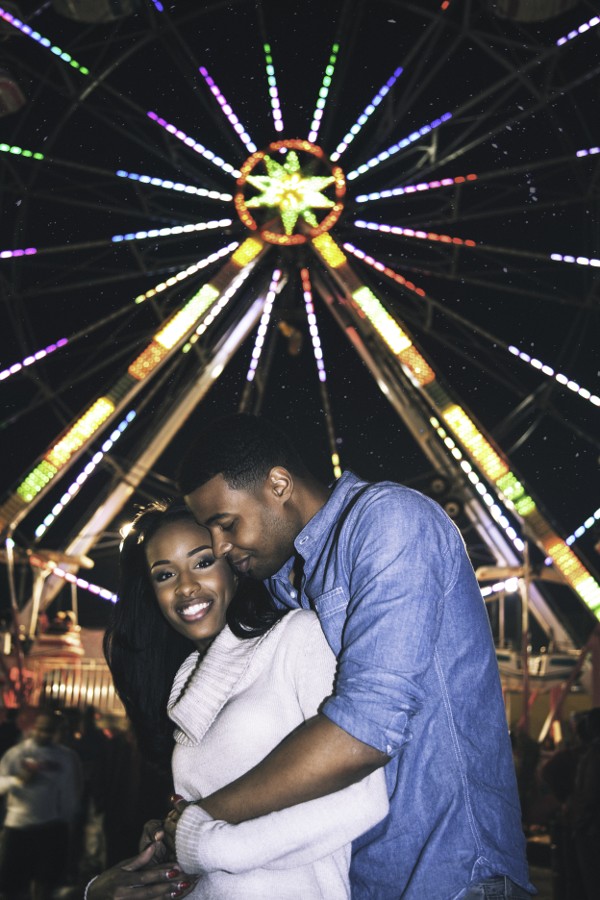
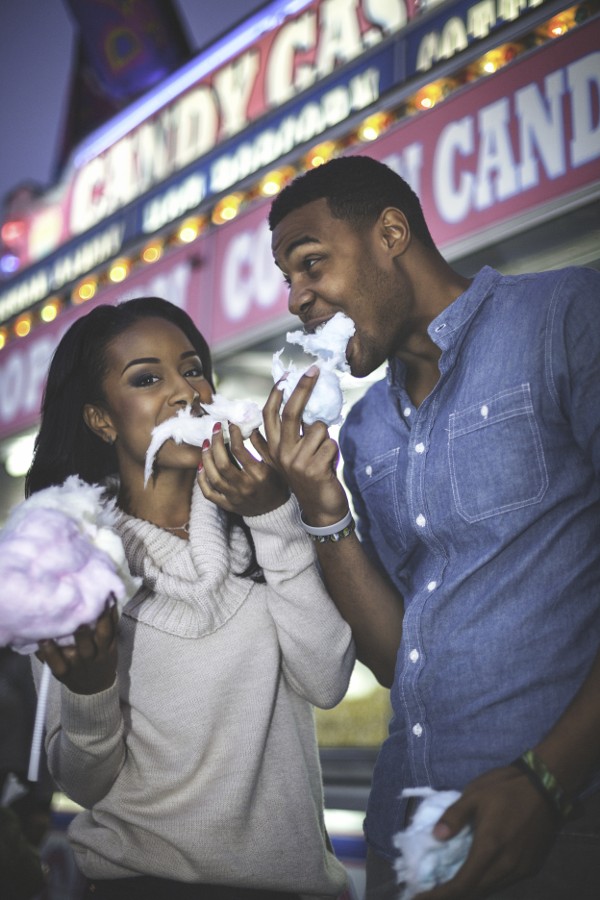
Never a dull moment with a group of friends like this!
Here's a retouch I did of the Johnsons running out of the church. One on camera speed light aimed up high bouncing off of the ceiling (run n gun situation). I had some issues with hot spots on their foreheads and a warm brown tint from the ambient color refracting with the flash (since it was bouncing off of a brownish/orange ceiling. So I had to spend a good amount of time cloning out the hot spots on their heads and using the transparency masking technique to match the luminance of the new cloned portions, then masking around the bride and groom and color correcting them individually from the background. Once I finished all that I added blur and graded the photo
Retouched Image
BEFORE RETOUCH (RAW)
Here are a few Real Estate images from my last shoot. These are composites made up from 70+ images. I start by combining 3 exposures for optimal shadow/highlight information, then I walk around the room and add flash pops to further model parts of the room/decor to enhance the image.
It has been said that a picture says a thousand words. What do your property photos say? Do your current images relate to the customer: we care, we pay attention to close detail, we know what you want, your happiness and comfort are our priority...
When I shoot the interior of your property I pay close attention to every detail. This image was created by mixing over 70 images together in photoshop. I go around the room and light every individual object in the room to draw your eye towards the find detail in every interesting inch of the living space. Some people like to just look through the camera and pull the trigger but I envision how your living space can be the most interesting it can possibly be, in order to relate to the customer the passion you have for your property.
AFTER